- If your business has a website, please provide its address to Alkai. The AI assistant will read it and extract the essential information about your field of operation, branding and the name of the brand. This may take some time depending on the size of the landing page.
- If your brand doesn't have a website, Alkai will ask you to write a few lines as general information about your business and will build the brand appearance based on the received info
- Next, Alkai will inquire about your social media goals for the business. When you answer that and Alkai starts generating the post ideas, you will see a prompt called “Let’s customize Alkai” where you will be asked to provide some more information for the most precise content generation.
- When you have completed the above, please access the “Settings” tab in the bottom left part of the screen and you will see that the name of your brand is already inserted into the “Business name” field. Select “Brand Kit” to see more options designed to customize your business in Alkai.

- Under “Name & Details”, you can specify the name of your brand, its landing page, the username of the brand on social (e.g. the handle of the associated Instagram account) and any optional text like a tagline, your contact details, working hours etc.
The “Visual Identity” section is designed to make a unique appearance for your brand that will be used in the future generated posts. When you click on “Logo”, you’ll notice that Alkai has parsed all images from your website’s landing page and offers them as a logo for your business. You can either select one of them or opt for uploading your own logo file. Once done, click on the left-facing arrow in the top left part of the screen to move back to the Brand Kit settings. Under “Colors”, you can select one of the preinstalled color palettes that will be used in your posts (or create a new one using the color picker tool by selecting one of the palettes and clicking on the pencil icon next to it). Don’t forget to click on “Apply” once done! The “Fonts” section, if pretty self-explanatory, offers a variety of themed fonts so that you can determine how you like to see your text in the posts – select one of the offered options and then you will be able to pick specific fonts to customize your choice if needed.
 |  |
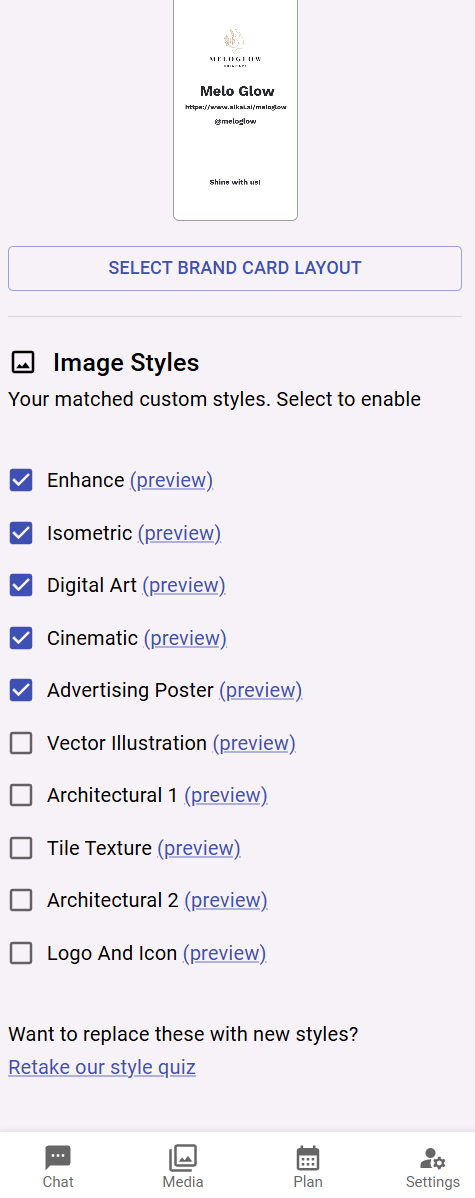
The “Brand Card” section is basically an end card that will showcase the essentials of your business info at the end of your posts (your brand logo, tagline etc.). If you are unhappy with the proposed brand card layout, you can edit it by clicking on the corresponding button and switching between the offered layouts.

“Image Styles” is a section where you’ll be prompted to select the preferred styling for the images incorporated in your posts. The quiz contains several questions where you’ll want to specify which styles Alkai should use to produce uniquely generated images for the future creations. When the quiz has been completed, you can always preview and edit your preferences under the same section or retake the whole quiz.
 |  |
More customization options are available on the “Edit post” screen – once Alkai generates a post for you, you can click on it to preview and edit, and you will be able to use the in-built tools to customize it even further to tailor it to your needs.
Questions and Answers
Q: I have accessed the Settings section and attempted to update my business name, but it’s greyed out and won’t change – why so?
A: To change the name of your business anytime, please access the “Brand Kit” section – you’ll notice that the “Business name” field is editable there.
Q: Why can’t I see my Brand Card and generated posts? Everything is set up, but the preview is blank.
A: Most probably, you have an ad blocker enabled in your Internet browser. Such software may be interfering with the normal operational mode of Alkai. Please disable the ad blocker software and reload the Alkai tab to see if this resolves the issue.
Q: What if I don’t want to include the Brand Card in my posts?
A: You can disable (or enable) the visibility of the Brand Card by clicking on the toggle under Settings – Brand Kit – Modify brand settings – Add Brand Card to end of post. Alternatively, you can switch this setting on the “Edit post” screen under the Brand directory in the bottom tray.
Q: I have changed my preferred color palette and fonts on the “Edit post” screen, but the selection wasn’t carried over to my next posts – what gives?
A: Changing the preferences on the “Edit post” screen will not persist for your future posts – it is designed to edit styles on the post-by-post basis. If you need to change the styling for all your future posts altogether, please consider navigating to Settings outside the post creation screen and updating from there.

